
Import Outlook for Windows (.pst ) or Outlook for Mac (.olm ) data files
Before you start, make sure that the file that you want to import is located on your computer. For example, put the file in the Documents folder or in any other convenient location.Note You must configure Outlook 2011 for Microsoft Exchange Server before you follow these steps. Otherwise, the procedure will not work.
For informaiton on how to solve most common problems with .pst importing, see the following Knowledge Base article:
2454260 Outlook 2011 problems when importing .pst
For directions to create a .pst file in Microsoft Outlook for Windows, visit the following Microsoft website:
- Click File, and then click Import.
- Click to select Outlook Data file (.pst or .olm). Click the right arrow to continue.


- Select the kind of file that you want to import, and then click the right arrow to continue.

- Locate the .pst file or the .olm file. Select the file, and then click Import.

- Click Done.

------------------------------------------------------
Import from Entourage 2008 or Entourage 2004
You must set up your Outlook 2011 email account before you can import. For more information, click the following article number to view the article in the Microsoft Knowledge Base:
2352963 Set up or recover Hotmail, Gmail, or AOL (POP or IMAP) email in Outlook for Mac 2011
After your Outlook 2011 email account is set up, follow these steps to import:- Click File, and then click Import.
- Click to select Entourage information from an archive or earlier version. Click the right arrow to continue.

- Select Entourage 2008 or Entourage 2004, and then click the right arrow to continue.

- Select the items that you want to import. If you are not sure, do not make any changes at this point. Click the right arrow to continue.

- Click the Browse button.
- Click Documents. Open the Microsoft User Data folder, and then open the Office 2008 Identities folder. Select your identity (click Main Identity).
Note These steps are based on an assumption that you have only one identity, and you have not renamed it.

- Click the Choose button.
- Click the right arrow to continue, and then click Finish.

Import .csv or .mbox files
- Click File, and then click Import.
- Click to select Contactsor messages from a text file, and then click the right arrow to continue.

- Click to select Import Contacts from a tab (CSV) or Import messages from an MBOX- format text file, and then click the right arrow to continue.

- Locate the file, select the file, and then click Import.
- Click OK.
Import holidays
Sets of holidays for different countries, regions, and religions are included in Microsoft Office applications. You can add any of these holiday sets to your Outlook calendar. To do this, follow these steps:- Click File, and then click Import.
- Click to select Holidays, and then click the right arrow to continue.

- Click to select the country, and then click the right arrow to continue.

- Click OK when you are prompted, "The holidays you selected have been added to the calendar."
- Click Finish.
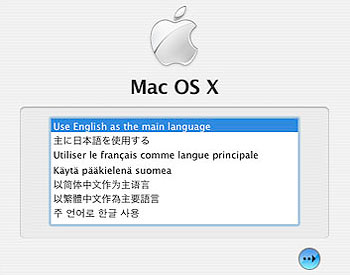 Select A Language?
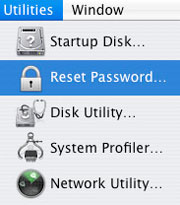
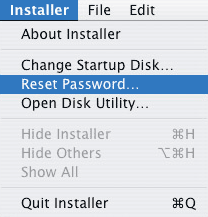 Open the Reset Password Utility
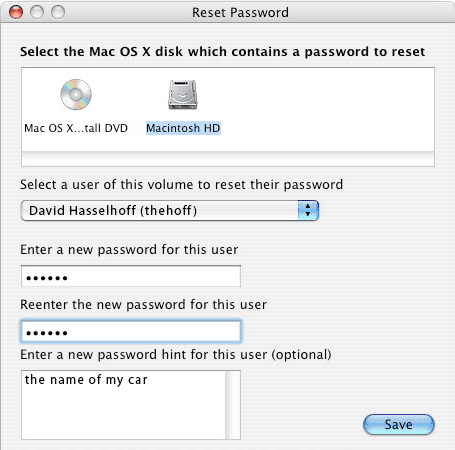 Select Your Hard Drive
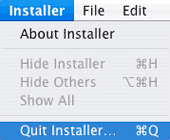
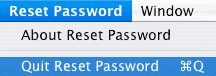 Quit Reset Password & Installer then Restart Your Mac
 Reset Your Keychain